
This article has been archived, as it was published several years ago, so some of its information might now be outdated. For more recent articles, please visit the main article feed.
When does the order of SwiftUI modifiers matter, and why?
Discover page available: SwiftUIOne of the major differences between SwiftUI and Apple’s previous UI frameworks is how views are configured. Rather than directly modifying various properties, we can instead apply modifiers to the views that we declare, which in turn assign the styles and behaviors that we’re looking to add.
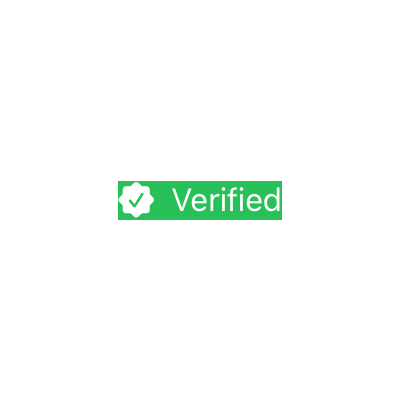
Sometimes, the order in which we apply such modifiers doesn’t matter at all. For example, here we’re creating a specialized label for showing that a certain item has been verified — which uses the built-in Label view introduced in iOS 14 and macOS Big Sur, along with three modifiers that apply our desired styles to the label’s background and text:
struct VerifiedLabel: View {
    var body: some View {
        Label("Verified", systemImage: "checkmark.seal.fill")
            .background(Color.green)
            .foregroundColor(.white)
            .font(.callout)
    }
}
Since none of the modifiers that we use above affect the layout or position of our view, but rather just modify its own internal appearance and the environment in which it will be rendered, we can change the order of them as much as we want, and we’ll still get the exact same result.
However, if we’re instead applying a modifier that wraps a given view, for example in order to modify its layout, then the order of our modifiers can end up having a quite big impact on our final UI.
As an example, let’s now say that we wanted to add a bit of padding to our VerifiedLabel, which can be done like this:
struct VerifiedLabel: View {
    var body: some View {
        Label("Verified", systemImage: "checkmark.seal.fill")
            .background(Color.green)
            .foregroundColor(.white)
            .font(.callout)
            .padding()
    }
}
The result of the above code (which you can see by using the PREVIEW button) might initially be quite surprising. It doesn’t look like our view has any padding at all! To explain what’s going on here, let’s take a quick look at what our view hierarchy actually ends up looking like when constructed — which can be done using the type(of:) function, like this:
let label = VerifiedLabel()
print(type(of: label.body))
Intuitively, we might expect the above expression to simply print the name of our own view type — VerifiedLabel — but here’s what actually ends up getting printed:
ModifiedContent<
    ModifiedContent<
        ModifiedContent<
            ModifiedContent<
                Label<Text, Image>,
                _BackgroundModifier<Color>
            >,
            _EnvironmentKeyWritingModifier<
                Optional<Color>
            >
        >,
        _EnvironmentKeyWritingModifier<
            Optional<Font>
        >
    >,
    _PaddingLayout
>
What the above shows is that each time that we apply a modifier, we actually end up creating a whole new view (at least most of the time), which in turn explains why the padding that we added is seemingly missing when rendering our VerifiedLabel.
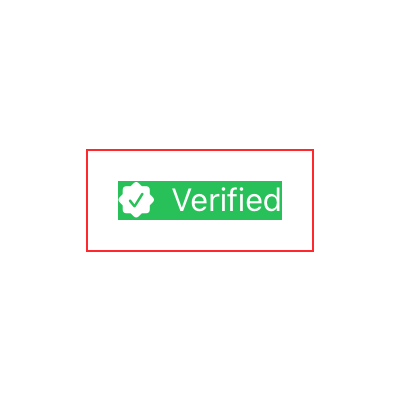
It turns out that the padding is indeed there, it’s just that because we’re applying it after applying our background color, we just can’t see it, since the background color will only apply to our label itself — not to the wrapping padding view that the padding modifier adds. That becomes even more clear if we also add a border after adding our padding, which results in a gap between that border and our label:
struct VerifiedLabel: View {
var body: some View {
Label("Verified", systemImage: "checkmark.seal.fill")
.background(Color.green)
.foregroundColor(.white)
.font(.callout)
.padding()
.border(Color.red)
}
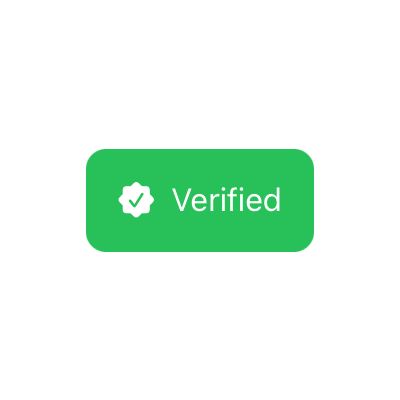
}To now actually fix the issue and get the kind of padding that we originally intended, all that we have to do is to move our background modifier so that it’s applied after our padding has been added — like this:

struct VerifiedLabel: View {
    var body: some View {
        Label("Verified", systemImage: "checkmark.seal.fill")
            .foregroundColor(.white)
            .font(.callout)
            .padding()
            .background(Color.green)
    }
}
The same thing applies to other kinds of wrapping modifiers as well, for example cornerRadius, which wraps a given view using a clipping mask in order to give it rounded corners:
struct VerifiedLabel: View {
var body: some View {
Label("Verified", systemImage: "checkmark.seal.fill")
.foregroundColor(.white)
.font(.callout)
.padding()
.background(Color.green)
.cornerRadius(10)
}
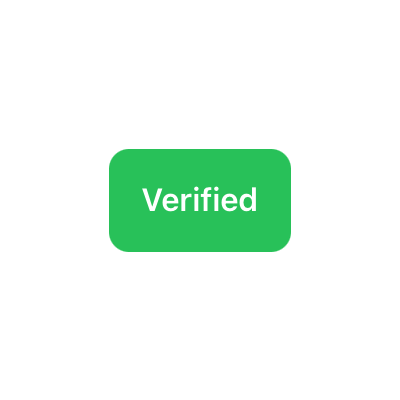
}Another case in which the order of our modifiers can be really important is when using ones that are specific to a given type. For example, the bold modifier can only be applied directly to Text values, meaning that if we wanted to change our VerifiedLabel to simply have bold text instead of having an icon, we would need to apply that modifier directly to our Text itself:
struct VerifiedLabel: View {
    var body: some View {
        Text("Verified")
            .bold()
            .foregroundColor(.white)
            .font(.callout)
            .padding()
            .background(Color.green)
            .cornerRadius(10)
    }
}
However, since the first couple of modifiers (foregroundColor and font) only modify our text’s environment, we can also apply our bold modifier after them as well, as long as we keep getting Text values back from those calls. If we, on the other hand, attempted to apply the bold modifier after adding our view’s padding, then we’d get a compiler error saying that our view doesn’t have such a method, since we’re no longer dealing with a Text instance directly:
struct VerifiedLabel: View {
    var body: some View {
        Text("Verified")
            .foregroundColor(.white)
            .font(.callout)
            .padding()
            .bold()
            .background(Color.green)
            .cornerRadius(10)
    }
}
So, to sum up, here are a few things that can be good to keep in mind when working with SwiftUI modifiers:
- When a modifier just changes the environment that its target view will be rendered in, then the order often doesn’t matter.
- However, if that modifier can only be applied to a specific type of view, then we can only apply it as long as we’re dealing with that kind of view directly.
- The order of modifiers that wrap their target view, on the other hand, often matters quite a lot, and a different modifier order can end up yielding a very different result.
I hope that you found this answer useful. Feel free to reach out via either Twitter or email if you have any questions or feedback.

Swift by Sundell is brought to you by the Genius Scan SDK — Add a powerful document scanner to any mobile app, and turn scans into high-quality PDFs with one line of code. Try it today.