
This article has been archived, as it was published several years ago, so some of its information might now be outdated. For more recent articles, please visit the main article feed.
Switching between SwiftUI’s HStack and VStack
Discover page available: SwiftUISwiftUI’s various stacks are some of the framework’s most fundamental layout tools, and enable us to define groups of views that are aligned either horizontally, vertically, or stacked in terms of depth.
When it comes to the horizontal and vertical variants (HStack and VStack), we might sometimes end up in a situation where we want to dynamically switch between the two. For example, let’s say that we’re building an app that contains the following LoginActionsView, which lets the user pick from a list of actions when logging in:
struct LoginActionsView: View {
    ...

    var body: some View {
        VStack {
            Button("Login") { ... }
            Button("Reset password") { ... }
            Button("Create account") { ... }
        }
        .buttonStyle(ActionButtonStyle())
    }
}

struct ActionButtonStyle: ButtonStyle {
    func makeBody(configuration: Configuration) -> some View {
        configuration.label
            .fixedSize()
            .frame(maxWidth: .infinity)
            .padding()
            .foregroundColor(.white)
            .background(Color.blue)
            .cornerRadius(10)
    }
}
Above, we’re using the fixedSize modifier to prevent our button labels from getting truncated, which is something that we should only do if we’re sure that a given view’s content won’t ever be larger than the view itself. To learn more, check out part three of my guide to SwiftUI’s layout system.
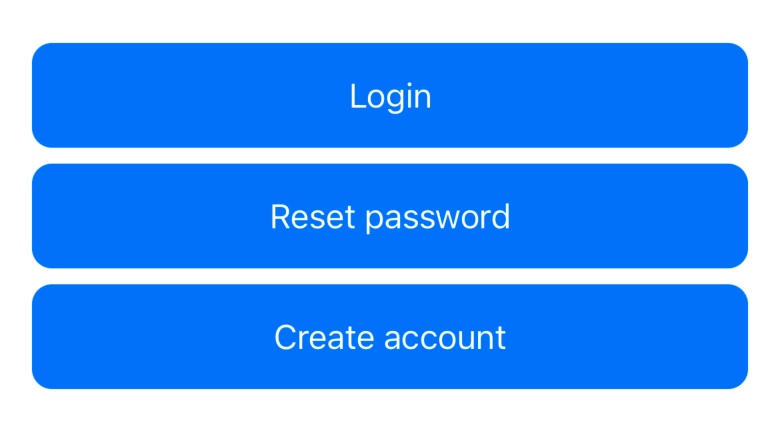
Currently, our buttons are stacked vertically, and fill all of the available space on the horizontal axis (you can use the above code sample’s PREVIEW button to see what that looks like). While that looks great on iPhones that are in portrait orientation, let’s say that we instead wanted to use a horizontal stack when our UI is rendered in landscape mode.
GeometryReader to the rescue?
One way to do that would be to use a GeometryReader to measure the currently available space, and based on whether the width of that space is larger than its height, we render our content using either an HStack or a VStack.
While we could definitely place that logic right within our LoginActionsView itself, chances are quite high that we’ll want to reuse that code at some point in the future, so let’s instead create a dedicated view that’ll perform our dynamic stack-switching logic as a stand-alone component.
To make our code even more future-proof, we won’t hard-code what alignment or spacing that our two stack variants will use. Instead, let’s do what SwiftUI itself does, and parametrize those attributes while also assigning the same default values that the framework uses — like this:
struct DynamicStack<Content: View>: View {
    var horizontalAlignment = HorizontalAlignment.center
var verticalAlignment = VerticalAlignment.center
var spacing: CGFloat?
    @ViewBuilder var content: () -> Content

    var body: some View {
        GeometryReader { proxy in
            Group {
                if proxy.size.width > proxy.size.height {
                    HStack(
                        alignment: verticalAlignment,
                        spacing: spacing,
                        content: content
                    )
                } else {
                    VStack(
                        alignment: horizontalAlignment,
                        spacing: spacing,
                        content: content
                    )
                }
            }
        }
    }
}
Since we made our new DynamicStack use the same kind of API that HStack and VStack use, we can now simply swap out our previous VStack for an instance of our new, custom stack within our LoginActionsView:
struct LoginActionsView: View {
...
var body: some View {
DynamicStack {
Button("Login") { ... }
Button("Reset password") { ... }
Button("Create account") { ... }
}
.buttonStyle(ActionButtonStyle())
}
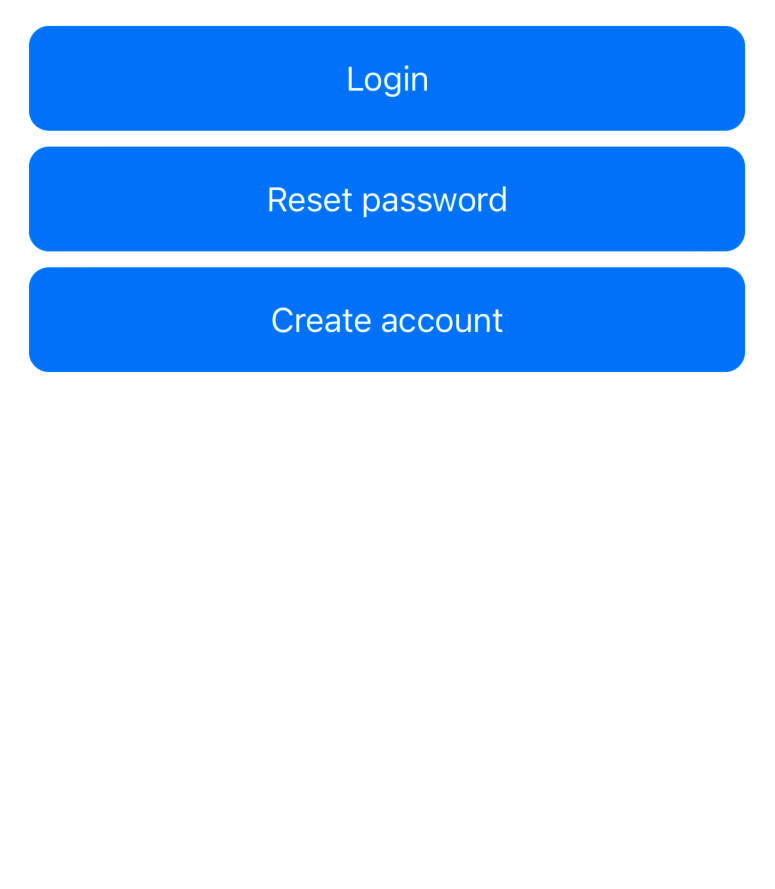
}Neat! However, like the above code sample’s PREVIEW shows, using a GeometeryReader to perform our dynamic stack switching does come with a quite significant downside, in that geometry readers always fill all of the available space on both the horizontal and vertical axis (in order to actually be able to measure that space). In our case, that means that our LoginActionsView will no longer just stretch out horizontally, but it’ll now also move to the top of the screen.
While there are various ways that we could address those problems (for example by using a technique similar to the one we used to make multiple views have the same width or height in this Q&A article), the question is really whether measuring the available space is really a good approach when it comes to determining the orientation of our dynamic stacks.
A case for size classes
Instead, let’s use Apple’s size class system to decide whether our DynamicStack should use an HStack or a VStack under the hood. The benefit of doing that is not just that we’ll be able to retain the same compact layout that we had before introducing a GeometryReader into the mix, but also that our DynamicStack will start behaving in a way that’s very similar to how built-in system components behave across all devices and orientations.
To start observing the current horizontal size class, all we have to do is to use SwiftUI’s environment system — by declaring an @Environment-marked property (with the horizontalSizeClass key path) within our DynamicStack, which will then let us switch on the current sizeClass value within our view’s body:
struct DynamicStack<Content: View>: View {
...
@Environment(\.horizontalSizeClass) private var sizeClass
var body: some View {
switch sizeClass {
case .regular:
hStack
case .compact, .none:
vStack
@unknown default:
vStack
}
}
}
private extension DynamicStack {
var hStack: some View {
HStack(
alignment: verticalAlignment,
spacing: spacing,
content: content
)
}
var vStack: some View {
VStack(
alignment: horizontalAlignment,
spacing: spacing,
content: content
)
}
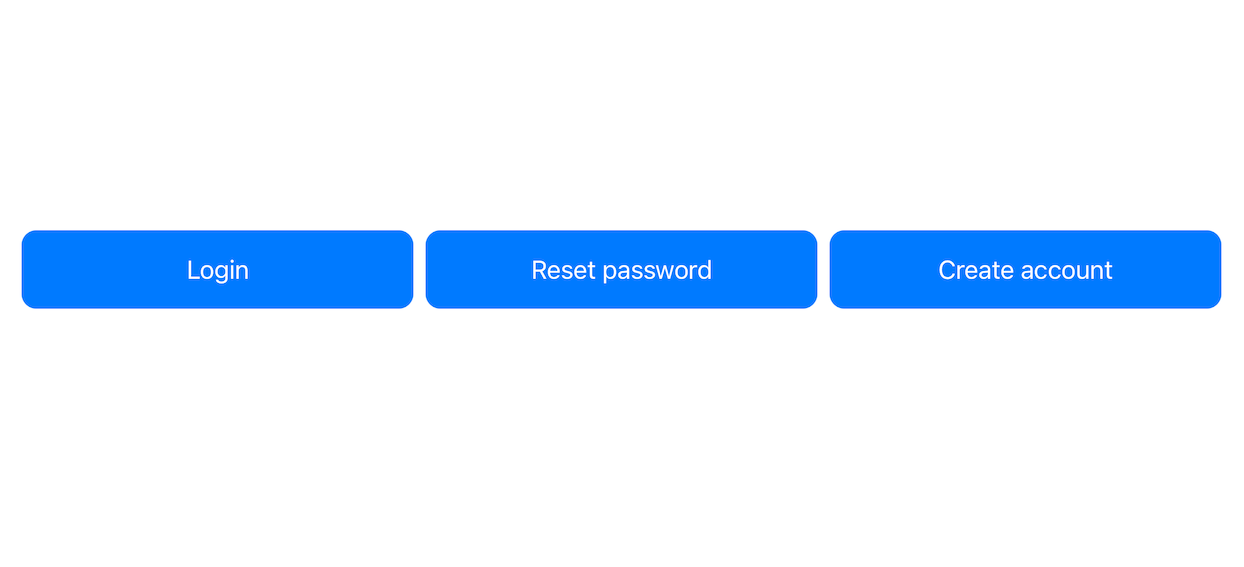
}With the above in place, our LoginActionsView will now dynamically switch between having a horizontal layout when rendered using the regular size class (for example in landscape on larger iPhones, or in either orientation when running full-screen on iPad), and a vertical layout when any other size class configuration is used. All while still using a compact vertical layout that doesn’t use any more space than what’s needed to render its content.
Using the Layout protocol
Although we’ve already ended up with a neat solution that works across all iOS versions that support SwiftUI, let’s also explore a few new layout tools that are being introduced in iOS 16 (which at the time of writing is still in beta as part of Xcode 14).
One such tool is the new Layout protocol, which both enables us to build completely custom layouts that can be integrated directly into SwiftUI’s own layout system (more on that in a future article), while also providing us with a new way to dynamically switch between various layouts in a very smooth, full animatable way.
That’s because it turns out that Layout is not just an API for us third-party developers, but Apple have also made SwiftUI’s own layout containers use that new protocol as well. So, rather than using HStack and VStack directly as container views, we can instead use them as Layout-conforming instances that are wrapped using the AnyLayout type — like this:
private extension DynamicStack {
    var currentLayout: AnyLayout {
        switch sizeClass {
        case .regular, .none:
            return horizontalLayout
        case .compact:
            return verticalLayout
        @unknown default:
            return verticalLayout
        }
    }

    var horizontalLayout: AnyLayout {
        AnyLayout(HStack(
            alignment: verticalAlignment,
            spacing: spacing
        ))
    }

    var verticalLayout: AnyLayout {
        AnyLayout(VStack(
            alignment: horizontalAlignment,
            spacing: spacing
        ))
    }
}
The above works since both HStack and VStack directly conform to the new Layout protocol when their Content type is EmptyView (which is the case when we don’t pass any content closure to such a stack), as we can see if we take a peak at SwiftUI’s public interface:
extension VStack: Layout where Content == EmptyView {
    ...
}
Note that, due to a regression, the above conditional conformance was omitted from Xcode 14 beta 3. According to Matt Ricketson from the SwiftUI team, a temporary workaround would be to instead use the underlying _HStackLayout and _VStackLayout types directly. Hopefully that regression will be fixed in future betas.
Now that we’re able to resolve what layout to use through our new currentLayout property, we can now update our body implementation to simply call the AnyLayout that’s returned from that property as if it was a function — like this:
struct DynamicStack<Content: View>: View {
    ...

    var body: some View {
        currentLayout(content)
    }
}
The reason that we can apply our layout by calling it as a function (even though it’s actually a struct) is because the Layout protocol uses Swift’s “call as function” feature.
So what’s the difference between our previous solution and the above, Layout-based one? The key difference (besides the fact that the latter requires iOS 16) is that switching layouts preserves the identity of the underlying views that are being rendered, which isn’t the case when swapping between an HStack and a VStack. The result of that is that animations will be much smoother, for example when switching device orientations, and we’re also likely to get a small performance boost when performing such changes as well (since SwiftUI always performs best when its view hierarchies are as static as possible).
Picking the view that fits
But we’re not quite done yet, because iOS 16 also gives us another interesting new layout tool that could potentially be used to implement our DynamicStack — which is a new view type called ViewThatFits. Like its name implies, that new container will pick the view that best fits within the current context, based on a list of candidates that we pass when initializing it.
In our case, that means that we could pass it both an HStack and a VStack, and it’ll automatically switch between them on our behalf:
struct DynamicStack<Content: View>: View {
    ...

    var body: some View {
        ViewThatFits {
            HStack(
                alignment: verticalAlignment,
                spacing: spacing,
                content: content
            )

            VStack(
                alignment: horizontalAlignment,
                spacing: spacing,
                content: content
            )
        }
    }
}
Note that it’s important that we place the HStack first in this case, since the VStack will likely always fit, even within contexts where we want our layout to be horizontal (such as in full-screen mode on iPad). It’s also important to point out that the above ViewThatFits-based technique will always attempt to use our HStack, even when rendered with the compact size class, and will only pick our VStack-based layout when the HStack doesn’t fit.

Swift by Sundell is brought to you by the Genius Scan SDK — Add a powerful document scanner to any mobile app, and turn scans into high-quality PDFs with one line of code. Try it today.
Conclusion
So that’s four different ways to implement a dedicated DynamicStack view that dynamically switches between an HStack and a VStack depending on the current context. I hope you enjoyed this article, and if you have any questions, comments, or feedback, then feel free to reach out via either Twitter or email.
Thanks for reading!